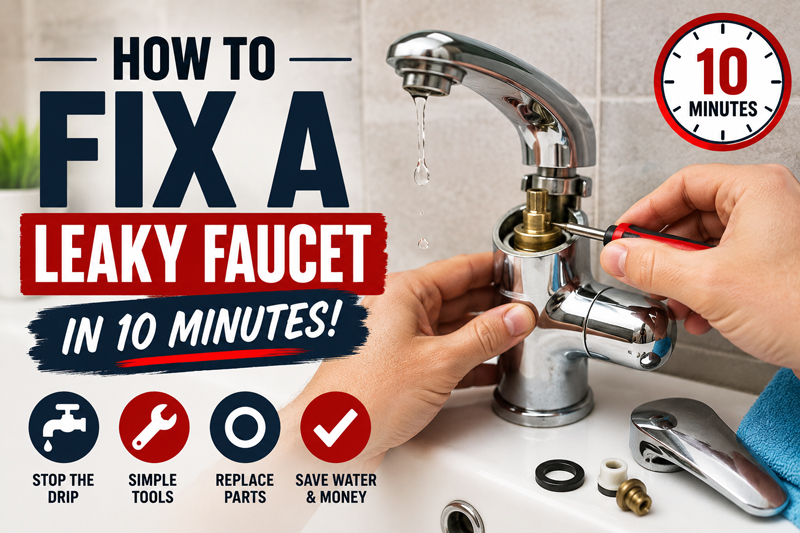
A leaky faucet might seem like a minor inconvenience, but over time it can waste water, increase your bills, and become seriously annoying. The good news? Most faucet leaks can be fixed in about 10 minutes using simple tools—even if you’re not experienced with plumbing.
What Causes a Faucet to Leak?
Before fixing the issue, it helps to understand what’s causing it. Most leaks come from:
- Worn-out washers
- Damaged O-rings
- Faulty cartridges
- Mineral buildup inside the faucet
A steady drip from the spout is usually due to worn internal parts, while leaks around the handle often point to loose or damaged seals.
Tools You Need to Fix a Leaky Faucet
You don’t need anything fancy. Just gather:
- Adjustable wrench
- Screwdriver (flathead or Phillips)
- Allen wrench (if needed)
- Replacement washer or cartridge
- Cloth or towel
Having everything ready will make the repair faster and smoother.
Turn Off the Water Supply First
This step is essential.
- Locate the shut-off valves under your sink
- Turn them clockwise to stop water flow
- Turn on the faucet briefly to release pressure
Skipping this step can lead to water spraying everywhere when you disassemble the faucet.
Identify the Type of Faucet You Have
Different faucets have slightly different repair methods. The most common types include:
- Single-handle faucets (usually cartridge-based)
- Double-handle faucets (often washer-based)
Knowing your type helps you understand what part needs replacing.
How to Disassemble the Faucet Handle
Start by removing the handle:
- Pry off the decorative cap (if present)
- Unscrew the handle screw
- Gently pull the handle off
Be careful not to force anything—if it’s stuck, wiggle it gently instead of pulling hard.
Inspecting the Washer, O-Ring, or Cartridge
Once the handle is removed, you’ll see the internal components.
- Pull out the cartridge (for modern faucets)
- Or remove the valve stem (for older faucets)
Check for:
- Cracks
- Wear and tear
- Flattened rubber parts
Even a tiny defect can cause a constant drip.
How to Replace Worn-Out Faucet Parts
This is the key step.
- Take the old part to a hardware store for an exact match
- Install the new washer, O-ring, or cartridge
- Make sure it fits snugly and is properly aligned
Replacement parts are inexpensive and usually solve the problem immediately.
Cleaning Mineral Build-Up Inside the Faucet
Before reassembling, take a minute to clean.
- Use a cloth or soft brush to remove debris
- Soak parts in vinegar to dissolve mineral deposits
This improves water flow and ensures a tight seal.
Reassembling the Faucet Correctly
Now put everything back together:
- Reinsert the cartridge or valve stem
- Reattach the handle
- Tighten the screw
- Replace the decorative cap
Make sure everything is secure but not overly tight.
Turning the Water Back On and Testing
Time to check your work:
- Slowly turn the water valves back on
- Run the faucet for a few seconds
- Turn it off and watch for drips
If the leak is gone, you’ve successfully fixed it.
What to Do If the Leak Doesn’t Stop
If the faucet is still leaking, the issue might be:
- A damaged valve seat
- Corrosion inside the faucet
- Incorrect part installation
In these cases, you may need to replace additional components—or the entire faucet.
Common Mistakes to Avoid During Repair
Avoid these common errors:
- Forgetting to turn off the water
- Using the wrong replacement parts
- Overtightening components
- Skipping cleaning steps
These mistakes can lead to continued leaks or even damage.
How to Prevent Future Faucet Leaks
Prevention saves time and money.
- Don’t overtighten faucet handles
- Clean faucets regularly
- Remove mineral buildup early
- Replace worn parts promptly
If you live in a hard water area, consider installing a water softener.
When You Should Replace the Entire Faucet
Sometimes repair isn’t enough.
Consider replacement if:
- The faucet is very old
- There is visible corrosion
- Leaks keep coming back
- Parts are hard to find
A new faucet can be more efficient and reliable.
Final Thoughts: Fixing a Leak in Minutes
Fixing a leaky faucet is one of the easiest home repairs you can do yourself. With just a few tools and about 10 minutes, you can stop the drip, save water, and avoid unnecessary expenses.
Once you’ve done it once, you’ll realize how simple it really is—and you might never call a plumber for a small leak again.
If you want, I can also:
- add internal links for SEO
- generate a meta description + keywords
- or create Pinterest/featured images for this post