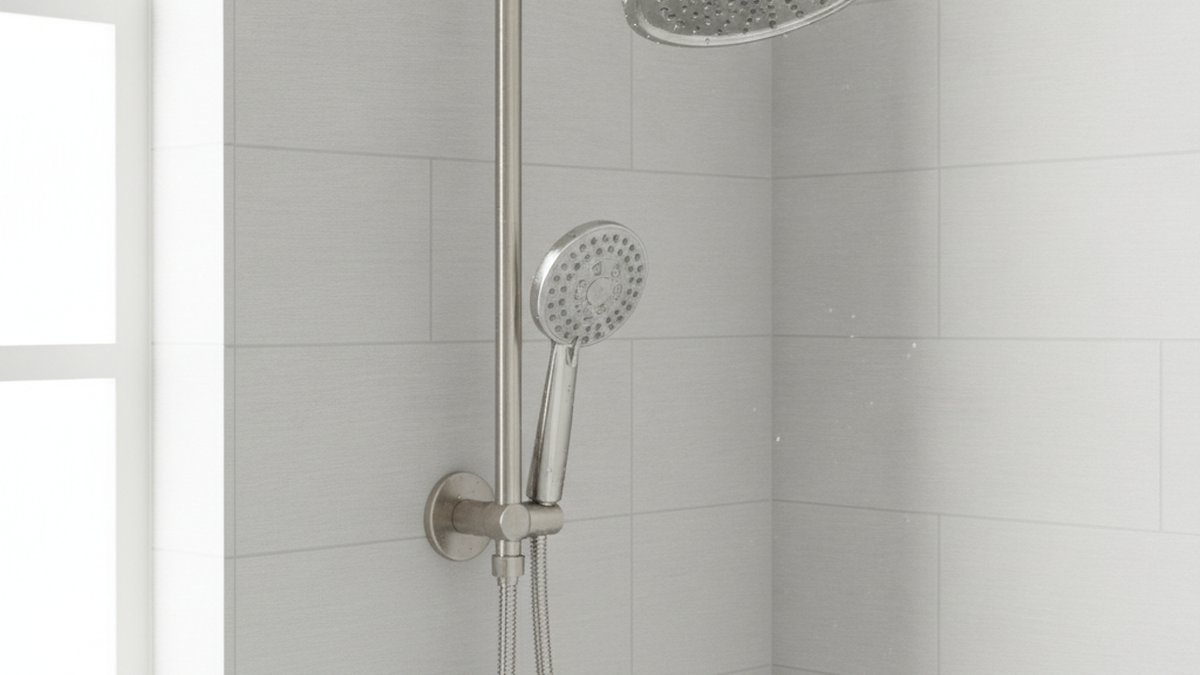
Learning how to change a shower head extension is one of the easiest, highest-payoff plumbing upgrades you can do yourself. A shower head extension — also called an extension arm, shower arm extender, or drop arm — is the metal pipe that moves your shower head higher, lower, or farther out from the wall so tall users stop ducking and rainfall heads sit directly overhead. Swapping it out is almost entirely a matter of unscrewing one threaded pipe and screwing in another, and if you get the thread sealing right, it will never drip. Below is exactly how to do it, what tools you actually need, and the mistakes that cause 90% of the leaks people blame on the part.
What exactly is a shower head extension, and how is it different from a regular shower arm?
A shower head extension is an add-on pipe that changes the position of your shower head — it screws onto (or replaces) the standard shower arm coming out of your wall. A regular shower arm is the short, mostly-straight pipe that comes stock with most showers and holds the head 6–8 inches off the wall. An extension adds length, height, or a downward “drop” so the water hits you from a better angle.
There are three common shapes, and picking the right one is half the battle:
- Straight extenders — a short threaded nipple (usually 6, 9, or 12 inches) that simply pushes your existing head farther out from the wall.
- S-style / gooseneck arms — a curved arm that raises the head 10–16 inches higher, ideal for tall users or for centering a rainfall head over the tub.
- Adjustable / articulating extensions — jointed arms with a pivot so you can aim a heavy rain head straight down without it drooping.
The important thing: nearly all of these use the same universal 1/2-inch NPT (National Pipe Thread) connection in North America, so a shower head extension from one brand will thread onto another brand’s wall pipe and accept almost any standard shower head. That standardization is why this is a DIY job and not a plumbing project.
| Extension type | Typical added reach/height | Best for | Rough price (USD) |
|---|---|---|---|
| Straight extender nipple | 3–12 in outward | Getting the head clear of the wall or a shower curtain | $8–$18 |
| S-style / gooseneck arm | 10–16 in higher | Tall users; rainfall heads over a tub | $15–$40 |
| Adjustable articulating arm | Up to 15 in, aim-able | Heavy rain heads that need a downward angle | $25–$60 |
| Ceiling-mount drop arm | 4–16 in down from ceiling | Overhead rainfall installs | $20–$70 |
What tools and materials do you actually need to change one?
For most swaps you need almost nothing: your hands, a cloth, and PTFE tape. The full kit that covers every scenario is short:
- PTFE / plumber’s tape (the white thread-seal tape) — non-negotiable; this is what stops leaks.
- An adjustable wrench or pliers — for arms that are stuck or over-tightened.
- A soft rag or painter’s tape — to pad the wrench jaws so you don’t scratch a chrome or matte-black finish.
- An old toothbrush and white vinegar — to clean crud off the wall threads before you reseal.
- A flashlight — to actually see into the threaded fitting inside the wall.
You do not need to shut off the main water for this job in almost all cases, because you’re working downstream of the shower valve — as long as the shower is off, no water flows to the arm. That said, if your shower valve is old and doesn’t fully close, shut the bathroom’s supply or the main just to stay dry. If you discover the wall fitting itself is dripping once you remove the arm, that’s a different problem — see our guide on how to fix a leaking shower faucet valve before you go further.
How do you change a shower head extension step by step?
Here’s the full process from start to finish. Done carefully it takes 10–20 minutes and produces a leak-free joint on the first try.
- Turn the shower off and let it drain. Give it 30 seconds so no water is sitting in the arm.
- Remove the old shower head. Turn it counterclockwise (lefty-loosey) by hand. If it’s seized, wrap the connecting nut in a rag and use pliers, holding the arm steady with your other hand so you don’t twist it inside the wall.
- Unscrew the old extension/arm from the wall. Same direction — counterclockwise. Most come out by hand. If not, pad an adjustable wrench and turn slowly. Never crank hard on the wall pipe — the threaded elbow (the “drop-ear elbow”) is buried in the wall and cracking it turns a 15-minute job into a wall-opening repair.
- Clean the wall threads. Wipe old tape and mineral gunk off the male threads sticking out of the wall. A toothbrush dipped in white vinegar dissolves hard-water scale. Dry it with your rag. Clean, dry threads are what let the tape seal properly.
- Wrap the new extension’s threads with PTFE tape. Wrap the end that goes into the wall. Go clockwise (the direction the pipe will screw in) so tightening doesn’t unravel the tape, and do 3–5 firm, overlapping turns. Pull it snug so it beds into the thread grooves.
- Thread the new extension into the wall by hand. Turn clockwise until it’s hand-tight, then snug it another 1/4 to 1/2 turn with a padded wrench — just enough to stop, aimed so the arm points where you want (down for a rain head, forward for a standard head). Don’t over-torque; you can crack fittings by muscling them.
- Tape and attach the shower head. Wrap PTFE on the extension’s free end, then hand-thread your shower head on. Snug it lightly — the rubber washer inside the head does most of the sealing, so hand-tight plus a nudge is plenty.
- Test. Run the shower for a minute and look at both joints. A slow bead of water means the joint needs a slight turn tighter or another wrap of tape; redo that joint rather than living with a drip.
That’s the entire job. If your extension came with a decorative flange (the cover plate against the wall), slide it on before you screw the arm in, so it sits flush and hides the hole.
Which direction do you turn to loosen a shower arm — and why does it matter?
Turn counterclockwise to loosen and clockwise to tighten, viewed as if you’re facing the wall. It matters most when you’re removing a stubborn arm: if you accidentally turn the whole assembly the wrong way, you can loosen the hidden elbow inside the wall instead of the arm, which is what causes in-wall leaks. Always steady the base of the arm at the wall with one hand while you turn the head or fitting with the other, so torque goes into the joint you mean to move.
Why is my new shower head extension leaking at the wall?
A leak at the wall almost always means the thread seal failed — not that the part is defective. In order of likelihood, here’s what’s wrong and how to fix it:
- Not enough PTFE tape, or tape wrapped the wrong way. Too few turns, or tape wound counterclockwise that unraveled as you tightened. Remove the arm, strip the old tape, and rewrap 4–5 firm clockwise turns.
- Dirty or wet threads. Tape can’t seal over scale or a film of water. Clean and fully dry both sets of threads first.
- Cross-threading. If the arm started at an angle, it can bite into the threads crooked and never seal. Back it all the way out and restart by hand — it should spin in smoothly for the first two turns with zero resistance.
- Under- or over-tightening. Loose won’t seal; brutally tight can distort the fitting. Aim for hand-tight plus a small nudge.
If the joint still weeps after a clean rewrap, add a smear of pipe-thread sealant (pipe dope) over the tape for a belt-and-suspenders seal. And if water is coming from behind the wall plate rather than the visible joint, stop — that’s the in-wall elbow, and it’s worth a closer look before it damages drywall.
Will any shower head fit my new extension, and what about heavy rainfall heads?
Yes — in North America virtually every shower head and extension uses the same 1/2-inch NPT thread, so mixing brands is fine. The real question with big heads is support, not fit. A large metal rainfall head can weigh 2–4 pounds, and a long straight extender will let that weight droop or sag over time. For heavy heads, choose a short, rigid S-arm or an articulating arm rather than a long thin nipple, and don’t over-extend. If you’re planning a rain-shower setup from scratch, height and reach matter as much as the arm itself — our breakdown of the correct rainfall shower head height will help you position it so water lands where you actually stand, and our guide to choosing a shower nozzle system covers matching the head to your water pressure.
One practical tip: buy your extension and head in a finish that matches your existing trim (chrome, brushed nickel, matte black, brushed gold). Mismatched finishes are the most common regret people have after this swap, and it costs nothing extra to get it right the first time.
How often should you replace a shower head extension, and what makes it worth doing?
Replace a shower head extension when it’s corroded, permanently clogged with scale, leaking at a joint you can’t reseal, or simply when you want a better height or angle — there’s no fixed lifespan, and a solid-brass arm can last decades. The upgrade is worth it in three clear cases: you or someone in the house is tall and ducks under the head; you’re adding a rainfall head that needs to sit higher and farther out; or your current arm is pitted, stained, or dribbling. Because the part costs $8–$60 and installs in minutes, it’s one of the cheapest ways to noticeably improve a daily shower.
While the arm is off is also the perfect moment to deal with mineral buildup in the head itself — hard water quietly strangles flow through the tiny nozzles. The same descaling approach we cover in how to clean sink faucet head buildup works on shower heads: a vinegar soak clears the jets and restores pressure. If you also need to pull an old tub spout as part of a bigger bathroom refresh, the right tub spout removal tool makes that companion job just as painless.
What’s the difference between a shower arm and a shower head extension?
A shower arm is the original pipe supplied with the shower; a shower head extension is an aftermarket part you add to extend, raise, or reposition the head. Functionally they thread together the same way — an extension either replaces the arm entirely or screws onto the end of it. In everyday use the terms overlap, and many products are sold as “extension arms” that simply are a longer, curved replacement arm.
A quick note on quality, testing, and warranty
Not all extension arms are equal. Cheap ones use thin-wall tubing or pot-metal threads that strip on the first install; better ones are solid brass with cleanly machined 1/2-inch NPT threads and a corrosion-resistant finish. At vevetta we design our shower arms and extensions to standard NPT tolerances and pressure-test the finish and threads before shipping, and our fixtures carry a limited warranty against leaks and finish defects — the kind of coverage that matters precisely because a bad thread is what ruins this otherwise simple job. When you buy, look for solid brass construction, a stated warranty, and a finish rated for bathroom humidity.
Author note: This guide was written by the vevetta fixtures team, who install, test, and photograph bathroom hardware daily and field these exact questions from customers. We’ve swapped hundreds of shower arms across chrome, brushed nickel, and matte-black finishes, and the steps above are the ones that consistently produce a leak-free joint on the first attempt. When a repair crosses into in-wall plumbing, we say so plainly rather than pretend every fix is DIY.
FAQ
Do I need to turn off the water to change a shower head extension?
Usually no. Because the extension sits downstream of the shower valve, no water flows to it as long as the shower is switched off. Only shut the bathroom supply or the main if your shower valve is worn and doesn’t fully close, or if you find the wall fitting itself is dripping once the arm is removed.
How much PTFE tape should I use on the threads?
Wrap 3–5 firm, overlapping turns in the clockwise direction (the same way the pipe screws in) so tightening beds the tape rather than unraveling it. Pull it snug into the thread grooves. Too little tape is the number-one cause of a weeping joint; a smear of pipe-thread sealant over the tape adds extra insurance on stubborn connections.
Can I extend my shower head without any plumbing skills?
Yes. Changing a shower head extension is a screw-off, screw-on job that requires no soldering, no cutting, and no cutting into walls. If you can wrap tape and hand-tighten a pipe, you can do it. The only real skill is turning gently so you don’t damage the hidden elbow inside the wall.
Why does my shower head extension droop or sag?
Droop happens when a long, thin extender carries a heavy head, or when the wall joint wasn’t tightened enough to hold its position. For heavy rainfall heads, use a short rigid S-arm or an articulating arm instead of a long nipple, and snug the wall joint a quarter-turn past hand-tight so it stays aimed where you set it.
Will a shower head extension reduce my water pressure?
A properly sized 1/2-inch extension has virtually no effect on pressure, since it’s the same diameter as your existing arm. Noticeable pressure loss almost always comes from mineral buildup in the head’s nozzles or a flow restrictor, not the extension. If pressure drops after a swap, descale the head with a vinegar soak before blaming the new arm.
What size thread do shower head extensions use?
In North America the standard is 1/2-inch NPT, which is why extensions, arms, and heads from different brands almost always fit together. Before buying, just confirm the product lists 1/2-inch NPT (or “universal” fit) and you can mix and match with confidence.